Setting Up Status Pages
What is a Status Page?
When GitHub goes down, developers don’t email GitHub support. They check githubstatus.com. That’s what a status page does: it gives your users a single URL where they can see whether your service is working, what’s broken, and what you’re doing about it.
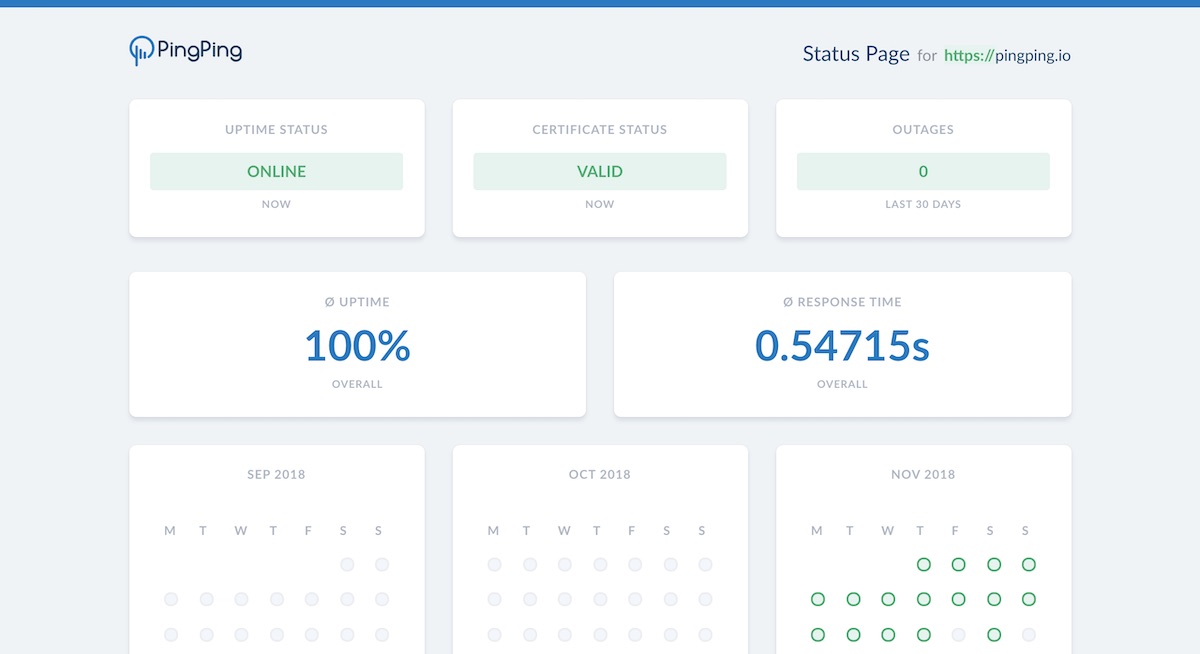
A good status page shows more than a green checkmark. It breaks down individual components (API, dashboard, webhooks), displays uptime history over the past 90 days, and logs incidents with timestamps and resolution details. Users who can see this information trust your service more, even after an outage, because they can verify that you handled it well.
At PingPing, your status page updates automatically from your monitoring data. When a 30-second check detects downtime, the status page reflects it immediately without any manual intervention.
Why You Need a Status Page
Here is what a status page actually does for your business:
- Reduced Support Load: Proactively inform users about issues before they contact support
- Enhanced Trust: Demonstrate transparency and commitment to service quality
- Better Communication: Provide a central source of truth for service status
- SLA Reporting: Track and demonstrate service reliability
The alternative is silence during outages, which forces users to guess whether the problem is on your end or theirs. That guessing leads to support tickets, social media complaints, and lost trust.
Essential Status Page Components
Your status page should include:
- System Status Overview: Clear, current status of all services
- Incident History: Record of past issues and resolutions
- Performance Metrics: Key performance indicators and uptime statistics
- SSL Certificate Status: Show your visitors that your SSL certificates are monitored and valid
To see how leading companies implement these elements, check out our status page examples and best practices.
Setting Up Your PingPing Status Page
Creating a status page with PingPing is straightforward. For each website you monitor for uptime, a private status page is created automatically. You can publish the status page and configure a custom domain name for it, such as status.yourdomain.com.
You can also add a public status page to your website by adding a link to your status page in the footer and adding it to your support documentation.
Managing Incidents
How you communicate during an incident matters as much as how fast you fix it. When an incident occurs, follow these steps:
- Acknowledge the issue promptly
- Provide clear initial communication
- Update status regularly
- Document resolution steps
- Post incident summaries
Scheduled Maintenance Communication
Planned maintenance is an opportunity to build trust instead of erode it. Here is how to handle it:
-
Before Maintenance:
- Announce well in advance
- Specify exact timing and duration
- Detail expected impact
- Provide alternative solutions if applicable
-
During Maintenance:
- Confirm start of maintenance
- Provide progress updates
- Report any complications
- Announce completion
Integrating Status Pages
Link to your status page from your website footer and your support documentation. A status page nobody can find is a status page nobody uses.